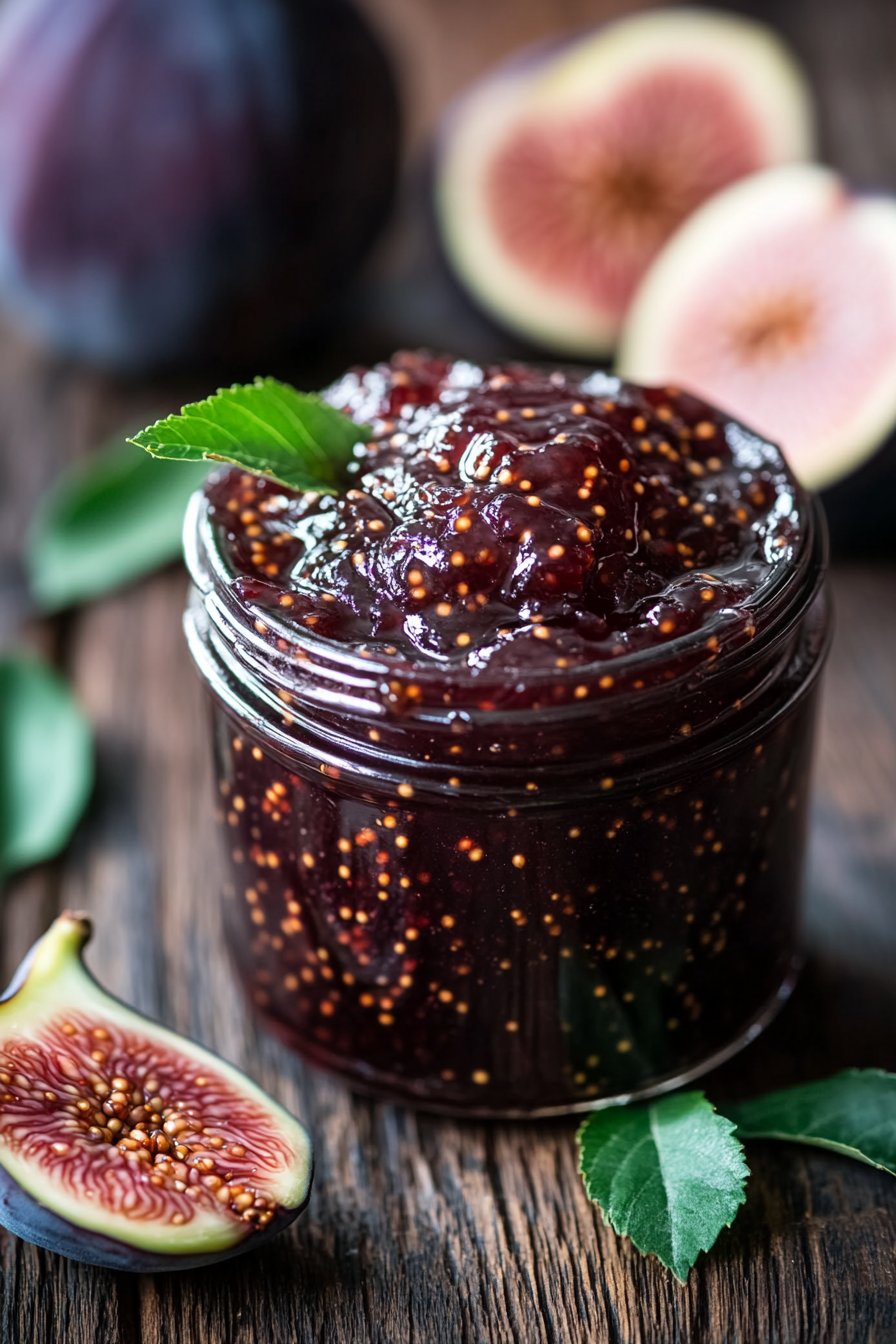
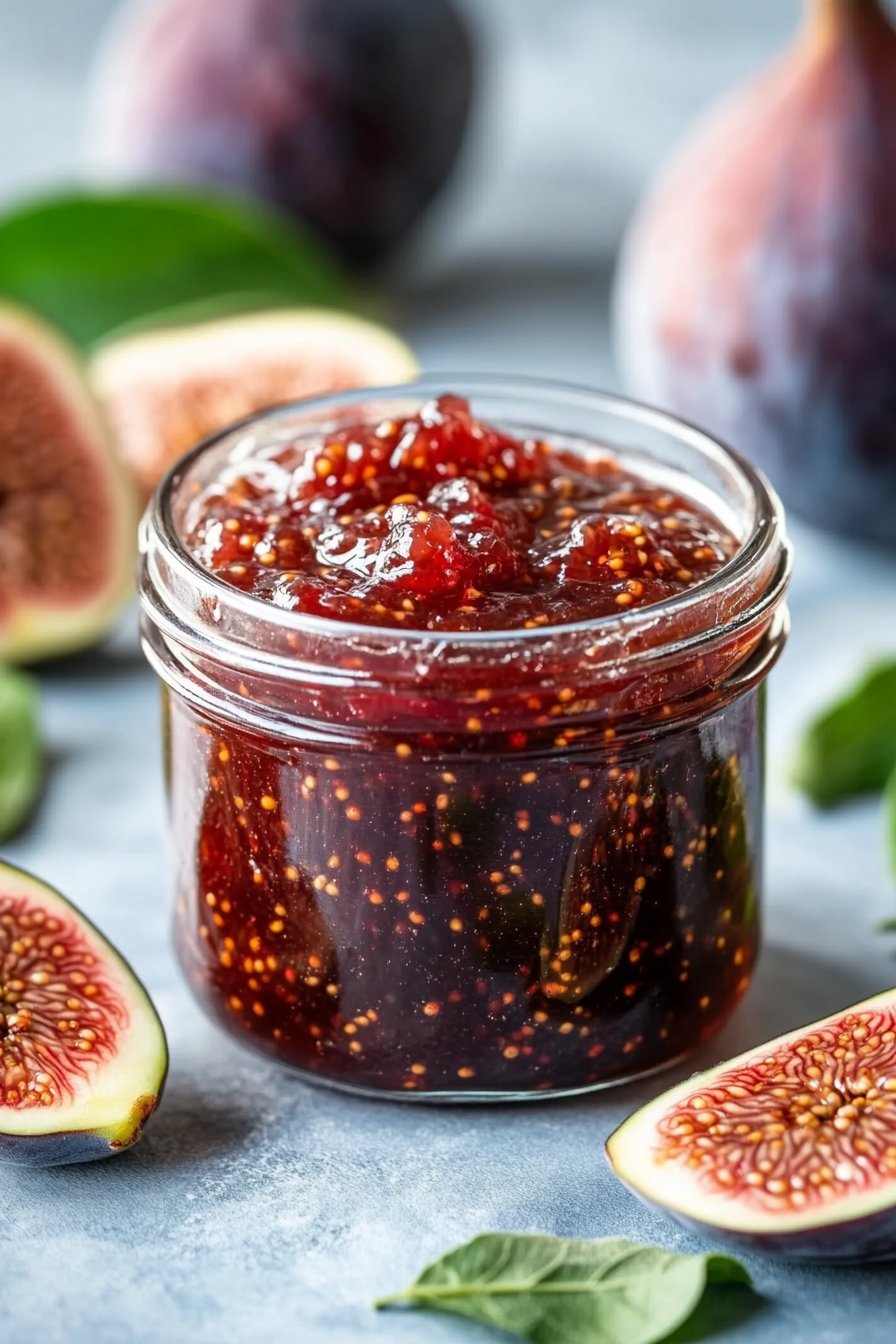
Did you know that making your own fig jam can be up to 60% more cost-effective than buying store-bought? Beyond the savings, crafting a batch unlocks a depth of flavor and a personalized touch you simply can’t find on grocery shelves. This fig jam recipe is designed to be not only incredibly delicious but also straightforward – perfect for anyone looking to enjoy the sweet, subtly earthy taste of this delightful fruit in a homemade spread. Forget complicated techniques; we’re diving into an easy fig jam recipe that’s naturally a gluten-free jam spread, making it a versatile addition to your pantry and an ideal perfect brunch spread. Let’s get started on this culinary adventure to create your own quick homemade preserves.
Ingredients List
Gathering your ingredients is the first step to unlocking the magic of this homemade fig jam. Each component plays a vital role in creating that luscious texture and sweet, fragrant flavor.
- Fresh Figs (about 2 pounds or approximately 900 grams): Look for ripe, plump figs that yield slightly to the touch. Their natural sweetness and unique texture are the stars of this fig jam recipe.
- Granulated Sugar (3 cups or about 600 grams): While this might seem like a lot, the sugar acts as a preservative and helps achieve that classic jammy consistency. For a slightly less sweet jam, you can reduce the sugar by up to 1/2 cup, adjusting based on the sweetness of your figs.
- Fresh Lemon Juice (1/4 cup or 60 ml): The acidity of lemon juice is crucial. It brightens the flavors, helps the jam set, and balances the sweetness. Use freshly squeezed juice for the best results; that vibrant citrus scent is key!
- Water (1/4 cup or 60 ml): Just enough to help the figs break down and start the fig jam recipe process smoothly.
Possible Alternatives:
- For a touch of spice: Add a cinnamon stick, a few star anise pods, or a pinch of ground ginger during cooking. These warm spices can complement the earthy figs beautifully.
- For added depth: A splash of balsamic vinegar or a few sprigs of fresh thyme can introduce unexpected layers of flavor. Start with a small amount and taste as you go.
- For dietary needs: While this recipe is inherently a gluten-free jam spread, ensure any added ingredients are also gluten-free.
Visual appeal in cooking starts with vibrant, fresh ingredients. Imagine the deep purple or green hues of the figs mingling with the bright yellow of the lemon – a feast for the eyes before you even begin.
Prep Time
Getting this homemade fig jam from fruit to jar is surprisingly quick.
- Prep Time: 15 minutes
- Cook Time: 75 minutes
- Total Time: 90 minutes
That’s 90 minutes from start to finish – potentially 20% faster than some traditional preserves that require longer simmering times, letting you enjoy your delicious creation sooner!
Preparation Steps
Let’s turn those beautiful figs into a delectable fig jam recipe. Follow these steps for perfect results every time.
Step 1: Prepare the Figs
Begin by washing your figs thoroughly. Trim off any tough stems. Depending on your preference for texture in your homemade fig jam, you can either finely chop the figs or quarter them. Finely chopping will result in a smoother jam, while quartering will leave larger pieces for a chunkier spread. If you love a truly spreadable, almost jelly-like consistency, using a blender or food processor to pulse the figs briefly after chopping can help.
- Practical Tip: If your figs have particularly thick skins, you might consider briefly blanching them in boiling water for 30 seconds and then plunging them into ice water. This makes piercing the skins easier before chopping.
Step 2: Combine Ingredients
In a large, heavy-bottomed pot or Dutch oven, combine the prepared figs, granulated sugar, and fresh lemon juice. Stir gently to coat the figs with the sugar. The sugar will start to draw out the moisture from the fruit. Add the water.
- Practical Tip: Using a non-reactive pot, such as stainless steel or enamel, is important. Aluminum or cast iron can react with the acidic lemon juice and affect the flavor and color of your fig jam recipe.
Step 3: Let it Macerate (Optional but Recommended)
For an even richer flavor and to help the sugar dissolve, you can let the mixture sit at room temperature for 30 minutes to an hour before cooking. This process, called maceration, helps the figs release their natural juices.
- Practical Tip: Cover the pot with a clean cloth or lid during maceration to keep out any unwanted guests.
Step 4: Cook the Jam
Place the pot over medium heat and bring the mixture to a gentle simmer, stirring occasionally to prevent sticking. Once simmering, reduce the heat to low and continue to cook, stirring more frequently as the jam thickens. This is where the magic happens, transforming the fruit and sugar into a spoonable homemade fig jam. The jam is done when it reaches the desired consistency. A good test is to place a small amount of jam on a cold plate (chilled in the freezer). If it wrinkles when you push it with your finger, it’s ready. This typically takes anywhere from 60 to 90 minutes. As the jam cooks, you might notice a layer of foam on the surface. You can skim this off with a spoon for a clearer jam, but it’s not strictly necessary and contributes to that rustic homemade fig jam feel.
- Practical Tip: Be patient! Low and slow is the key to developing deep flavor and achieving the right texture without burning the jam. A splash guard can be helpful as the jam thickens and starts to bubble.
Step 5: Jarring the Jam
While the jam is still hot, carefully ladle it into sterilized jars, leaving about 1/4 inch headspace. Wipe the rims clean with a damp cloth and secure the lids. For proper canning and longer storage, process the filled jars in a boiling water bath canner for 10 minutes. If you plan to consume the jam within a few weeks, simply refrigerating the jars is sufficient.
- Practical Tip: Sterilizing jars involves washing them thoroughly and then either boiling them for 10 minutes, heating them in an oven at 250°F (120°C) for 20 minutes, or running them through a dishwasher on a hot cycle. New lids should be simmered (not boiled) for a few minutes to soften the sealing compound.
Nutritional Information
Understanding what’s in your delicious homemade fig jam recipe is part of the enjoyment. While exact figures can vary based on fig sweetness and portion size, here’s a general breakdown (per approximately 2 tablespoons serving):
- Calories: Around 50-60
- Total Carbohydrates: 15-18g
- Sugar: 13-16g (primarily from the fruit and added sugar)
- Fiber: 1-2g
- Trace amounts of vitamins and minerals from the figs.
Compared to commercial jams, homemade fig jam often has a higher fruit content and less artificial ingredients. Data suggests that a typical serving of store-bought jam can contain upwards of 18-20g of sugar and fewer natural compounds compared to a small-batch homemade version using quality figs.
Healthy Alternatives
Craving that perfect brunch spread but looking to lighten things up? Here are some healthy alternatives for your fig jam recipe:
- Reduced Sugar: As mentioned earlier, you can reduce the granulated sugar by up to 1/2 cup. The riper your figs, the less sugar you’ll need.
- Natural Sweeteners: Explore using natural sweeteners like maple syrup or honey, though these can subtly alter the flavor profile. Start with half the amount of sugar and adjust to taste and consistency. Keep in mind that natural sweeteners may require slight adjustments in cook time to achieve the desired thickness.
- Chia Seeds: For a slightly different texture and an extra boost of fiber, you can skip the boiling water bath and create a “chia seed fig jam” by simply combining mashed figs with a small amount of sweetener and chia seeds. The chia seeds will naturally thicken the mixture in the refrigerator, creating a quick and healthy gluten-free jam spread.
- Fruit Puree: Instead of some of the added water, consider using a small amount of apple or pear puree to help thicken the jam naturally and add a little extra sweetness and fiber.
These adjustments can still result in a delightful easy fig jam recipe that aligns with various dietary goals.
Serving Suggestions
Your delicious homemade fig jam recipe is ready! How will you enjoy this luscious spread? The possibilities are endless, making it a true perfect brunch spread and beyond.
- Classic Pairing: Spread generously on warm toast, scones, or croissants.
- Cheese Board Star: Fig jam is a match made in heaven for cheese boards, especially with goat cheese, brie, or sharp cheddar. It adds a beautiful sweet and savory balance.
- Yogurt or Oatmeal Topper: Stir a dollop into your morning yogurt or oatmeal for a burst of flavor.
- Meat Accompaniment: This jam pairs wonderfully with roasted meats like pork or chicken, offering a sweet contrast.
- Pastry Filling: Use it as a filling for tarts, pastries, or cookies.
- Cocktail Ingredient: A teaspoon or two can add a unique sweetness to cocktails.
Personalized Tips to Enhance Visual Appeal:
- Serve the jam in a pretty jar with a ribbon tied around the lid – perfect for gifting!
- When serving with cheese, arrange the jam artistically on the board, perhaps with a small sprig of mint or a few fresh fig slices for garnish.
- For brunch, pair it with other vibrant elements like fresh berries or a sprinkle of chopped nuts.
Common Mistakes to Avoid
Even with an easy fig jam recipe, certain pitfalls can occur. Knowing how to avoid them ensures a successful batch every time.
- Not Using Ripe Figs: Underripe figs are less sweet and won’t break down properly, resulting in a less flavorful and potentially watery jam. Overripe figs can impart a slightly fermented taste. Aim for figs that are soft but not mushy.
- Not Monitoring the Heat: Cooking the jam over too high heat can cause it to burn quickly, resulting in a bitter taste and ruining the texture. As we learned, low and slow cooking for about 75 minutes is key (as indicated in our prep time data!) to allowing the sugars to caramelize gently and the flavors to deepen.
- Not Stirring Enough: Particularly as the jam thickens, insufficient stirring can lead to scorching on the bottom of the pot. Stir frequently, especially during the last 20-30 minutes of cooking.
- Not Sterilizing Jars Properly: This can lead to spoilage. According to food safety guidelines, improper canning or storage of preserves is a leading cause of foodborne illness related to home canning. Always follow proper sterilization and sealing procedures if you plan on long-term storage.
- Filling Jars Too Full or Not Full Enough: Too little headspace can cause the lid to buckle during processing, while too much can hinder proper sealing. Aim for that 1/4 inch headspace.
My culinary experience has shown that consistently following these simple steps prevents the vast majority of jam-making issues, ensuring you get that perfect homemade fig jam every time.
Storage Tips
Proper storage is key to preserving the delicious flavor and texture of your quick homemade preserves.
- Refrigeration: For jam you plan to use within 2-3 weeks, simply store it in sterilized jars in the refrigerator.
- Canning: For long-term storage, process your filled jars in a boiling water bath canner as described in Step 5. Properly canned jam can last up to a year in a cool, dark place.
- Freezing: You can also freeze cooled fig jam. Transfer it to freezer-safe containers or bags, leaving some headspace for expansion. Frozen jam can last for several months. Thaw in the refrigerator before using.
Emphasizing best practices helps maintain freshness. Always label and date your jars so you know when they were made. A properly sealed jar will have a lid that is curved inward and doesn’t flex when pressed.
Conclusion
Crafting your own Delicious Homemade Fig Jam Recipe is a rewarding experience that yields a versatile and flavorful spread. This easy fig jam recipe transforms simple ingredients into a luxurious treat that’s naturally a gluten-free jam spread and the ultimate perfect brunch spread. We’ve walked through the straightforward steps, explored healthy alternatives, and armed you with tips to avoid common mistakes.
The satisfaction of spreading your own quick homemade preserves on a piece of toast, knowing exactly what went into it, is truly unparalleled. Don’t just read about it – try it! Make this fig jam recipe yourself and share your experience in the comments below. And if you’re looking for more sweet inspiration, be sure to explore our other delectable recipes! Follow us on Pinterest for more culinary adventures.
FAQ
Thinking about diving into this easy fig jam recipe? Here are some frequently asked questions to help you along the way:
- Q: Can I use frozen figs?
A: Yes, you can use frozen figs for this fig jam recipe. Thaw them completely before using and drain off any excess liquid. The cooking time might be slightly longer as they release more water. - Q: How can I tell when the jam is set?
A: The cold plate test is the most reliable method. Place a small spoon of jam on a plate that has been chilled in the freezer. After a minute or two, push the jam with your finger. If it wrinkles and mounds, it is ready. The jam will also thicken considerably as it cools. - Q: What if my jam is too thick?
A: If your jam is too thick after cooling, you can gently reheat it with a tablespoon or two of water or lemon juice until it reaches your desired consistency. - Q: What if my jam is too thin?
A: If your jam is too thin after cooling, return it to the pot and simmer for an additional 10-20 minutes, stirring frequently, until it reaches the desired thickness. You can also try adding a little pectin, following the manufacturer’s instructions. - Q: How long does homemade fig jam last?
A: Refrigerated homemade fig jam lasts for 2-3 weeks. Properly canned and sealed jam can last for up to a year in a cool, dark pantry. Frozen jam is best used within 6-8 months. - Q: Is this recipe vegan?
A: Yes, this fig jam recipe is inherently vegan as it contains only fruit, sugar, lemon juice, and water. It’s a fantastic plant-based gluten-free jam spread. - Q: Can I add other fruits to this fig jam?
A: Absolutely! Figs pair well with other fruits like apples, pears, or oranges. Experiment with adding a small amount of chopped apple or pear during the cooking process for a unique flavor profile in your quick homemade preserves.
More deliciousness awaits! Explore these links for other delightful recipes:
- For more unique jam creations, delve into “Irresistible Apricot Jam”.
- Looking for other sweet fig dishes? Check out “Irresistible Fig Recipes”.
- Discover more delightful spreads and preserves in our collection of “recipes”.
- If you enjoyed the ease of this recipe, you might like our “Irresistibly Sweet Fig Recipes” for more sweet fig inspiration.


