There’s something magical about creating a dessert from scratch. The process is not just about mixing ingredients; it’s about crafting a moment of joy. Imagine the rich aroma of toasted nuts blending with a creamy, vanilla-infused base. This recipe promises just that—a delightful treat that’s worth every effort.
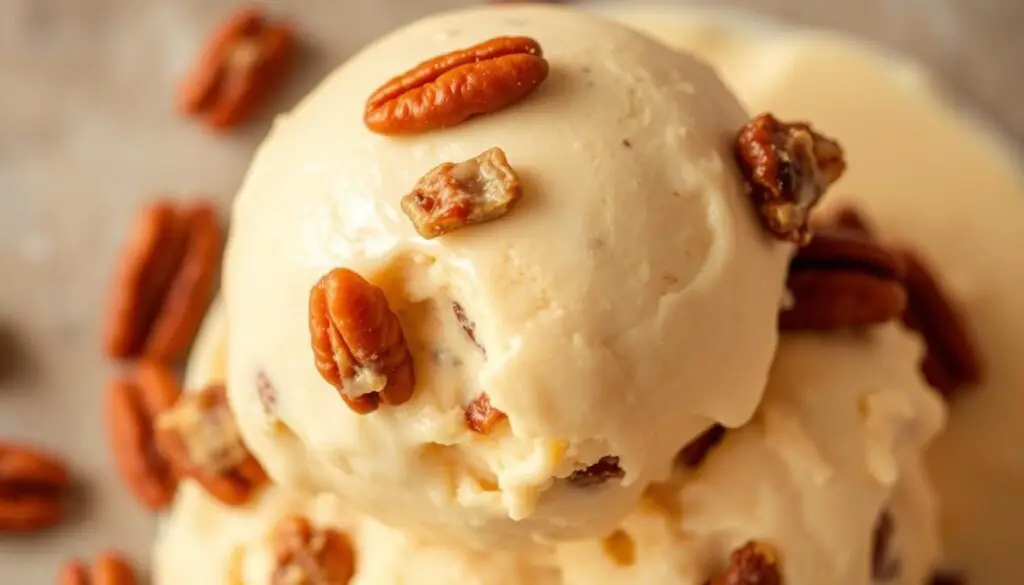
What makes this ice cream special is its simplicity. With just a few quality ingredients like fresh cream, whole milk, and a touch of sweetness, you can create a dessert that rivals any store-bought option. The toasted butter pecan pieces add a satisfying crunch, making each bite unforgettable.
Whether you’re a seasoned cook or a beginner, this recipe is designed to be easy to follow. Detailed instructions and helpful tips will guide you every step of the way. So, why not treat yourself and your loved ones to a homemade dessert that’s both indulgent and rewarding?
Key Takeaways
- Create a rich, creamy dessert with simple, quality ingredients.
- Enjoy the superior flavor and texture compared to store-bought options.
- Follow easy-to-understand instructions for a stress-free experience.
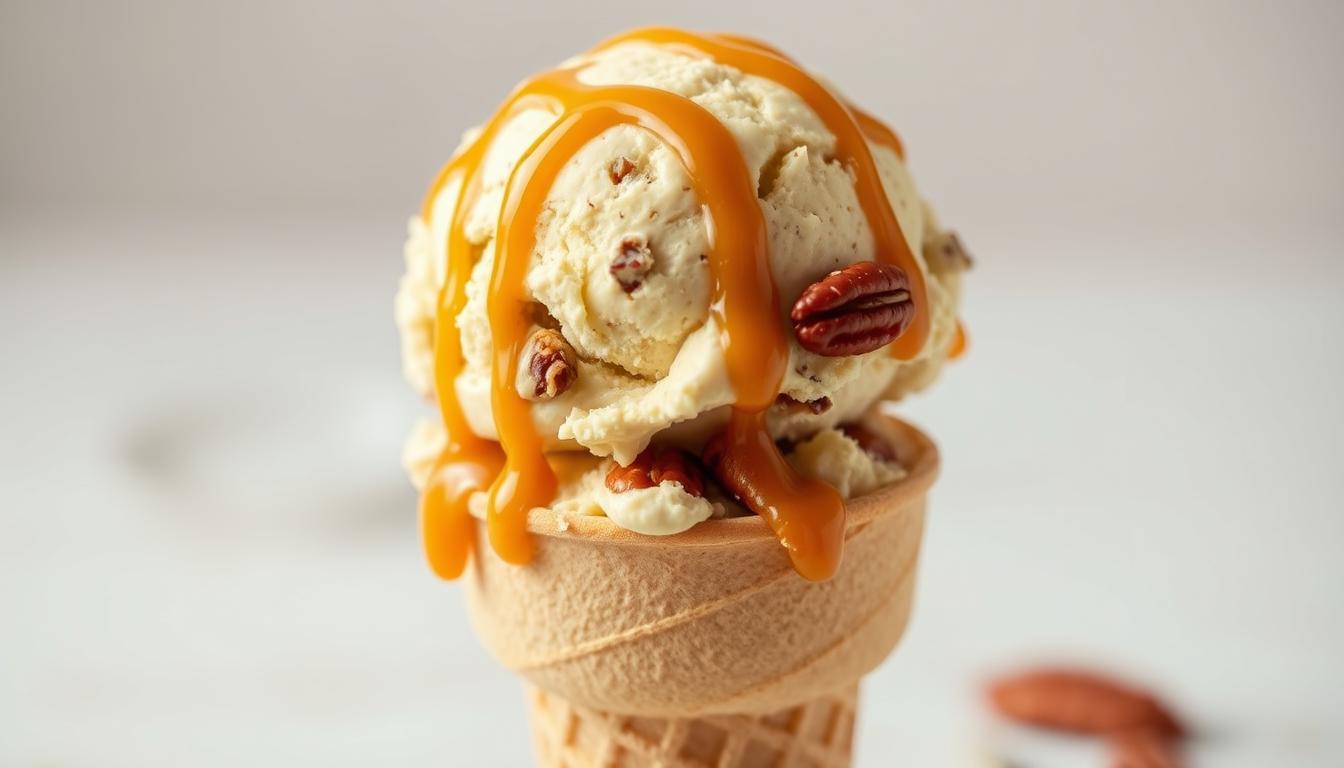
- Customize with optional caramel swirls for added decadence.
- Perfect for sharing with family and friends on any occasion.
Introduction to Homemade Butter Pecan Ice Cream
Few desserts capture the essence of summer like a freshly churned treat. The combination of creamy texture and rich flavor makes it a favorite for warm evenings. Whether enjoyed by the pool or at a backyard gathering, this dessert brings joy to every bite.
A Summer Favorite Dessert
There’s something special about a dessert that cools you down while satisfying your sweet tooth. The blend of smooth custard and crunchy toasted pecans creates a perfect balance. Add a touch of vanilla, and you have a treat that’s hard to resist.
Making it at home allows you to control the ingredients. You can use fresh cream, real sugar, and high-quality vanilla for a superior flavor. The result is a dessert that’s richer and more satisfying than anything you’d find in a store.
Why Homemade Beats Store-Bought
Store-bought options often rely on artificial flavors and preservatives. Homemade versions, on the other hand, use natural ingredients for a fresher taste. The creamy texture of a well-made custard is unmatched, making every spoonful a delight.
Toasted pecans add a satisfying crunch, while a hint of sugar enhances the sweetness. The process of making it at home also brings a sense of accomplishment. It’s a dessert that’s as rewarding to create as it is to enjoy.
With the ability to customize flavors and mix-ins, the possibilities are endless. Whether you stick to the classic recipe or add your own twist, the result is always a crowd-pleaser.
Essential Ingredients and Modifications
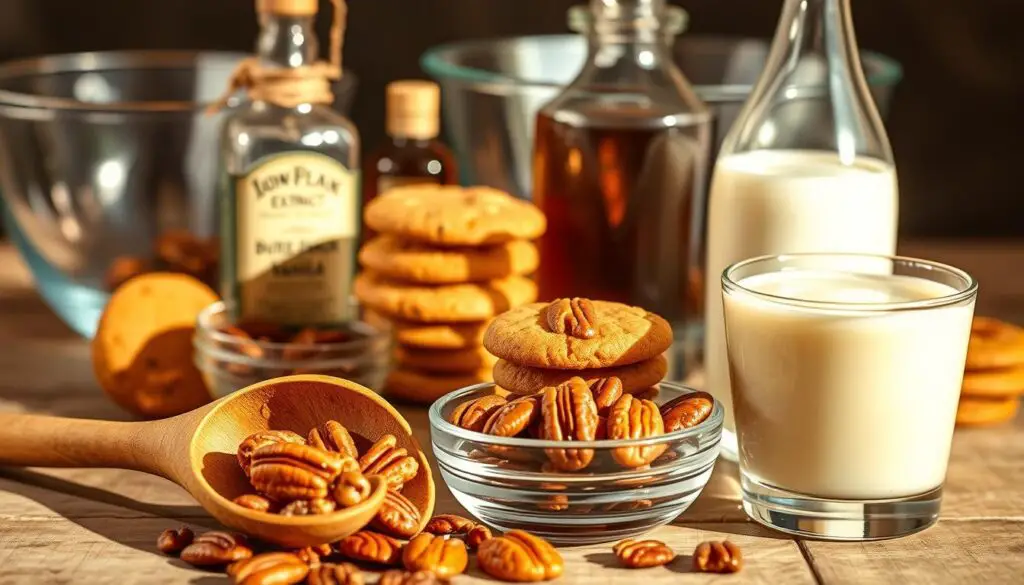
The foundation of any great recipe lies in its ingredients. For this dessert, the right components ensure a rich, creamy texture and a balanced flavor. Let’s explore the essentials and how you can tweak them to suit your taste.
Butter, Pecans, and Sugars
High-quality butter is crucial for toasting pecans to perfection. Raw pecans work best, as they absorb the butter’s richness and develop a deep, nutty flavor. For sweetness, a mix of granulated and brown sugar adds complexity. Brown sugar brings a hint of caramel, while granulated sugar ensures the right level of sweetness.
Milk, Eggs, and Flavor Enhancers
Eggs are the backbone of the custard base, providing richness and structure. For the creamiest texture, opt for whole milk or half & half. Sweetened condensed milk can be used for extra richness and a smoother consistency. Flavor enhancers like vanilla extract or a pinch of salt elevate the overall taste.
| Ingredient | Role | Modifications |
|---|---|---|
| Butter | Toasts pecans and adds richness | Use salted or unsalted with a pinch of salt |
| Pecans | Provides crunch and nutty flavor | Raw pecans for optimal toasting |
| Sugar | Adds sweetness and texture | Mix granulated and brown sugar |
| Eggs | Creates a rich custard base | Use fresh, room-temperature eggs |
| Milk | Determines creaminess | Whole milk, half & half, or sweetened condensed milk |
Feel free to experiment with additional flavors like cinnamon or caramel swirls. The beauty of this recipe lies in its flexibility, allowing you to create a dessert that’s uniquely yours.
Homemade Butter Pecan Ice Cream
Crafting a dessert from scratch brings a sense of pride and joy. The heart of this ice cream recipe lies in its smooth, rich custard base. Achieving the perfect texture requires patience and attention to detail. Let’s explore the techniques that make this treat unforgettable.
The Rich Custard Experience
The custard base is the foundation of this dessert. It’s made by blending eggs, sugar, and milk into a creamy mixture. Heating this cream mixture slowly ensures it thickens without curdling. The result is a velvety texture that melts in your mouth.
Toasting pecans in butter adds a nutty crunch that complements the smoothness. The balance of sweet and savory flavors creates a harmonious bite. Every spoonful is a testament to the care put into the process.
Classic Versus Creative Twists
While the traditional recipe is a crowd-pleaser, there’s room for creativity. Adding caramel swirls or a pinch of cinnamon can elevate the flavor profile. These twists make the dessert uniquely yours while maintaining its classic charm.
Here’s a quick comparison of traditional and modern approaches:
| Aspect | Traditional | Creative Twists |
|---|---|---|
| Base | Custard with vanilla | Custard with caramel or cinnamon |
| Texture | Smooth and creamy | Layered with swirls or chunks |
| Flavor | Nutty and sweet | Complex with added spices |
Whether you stick to the classic or experiment with new flavors, the joy of making this dessert is unmatched. The process is as rewarding as the final product, making it a perfect treat for any occasion.
Crafting the Custard Base for Creaminess
Achieving the perfect custard base is the secret to a creamy, indulgent dessert. This step requires precision and patience, but the results are worth it. Let’s break down the techniques to ensure your base is smooth and luxurious.
Tempering Eggs and Mixing Methods
Tempering eggs is crucial for a silky texture. Start by whisking egg yolks and sugar until pale and thick. Gradually add heated milk and cream while stirring constantly. This prevents the eggs from curdling and ensures a smooth mixture.
Once combined, return the mixture to the stove. Cook over medium heat, stirring continuously, until it thickens enough to coat the back of a spoon. This step is key to achieving the right consistency for your custard base.
Heating and Cooling Techniques
Proper heating is essential to avoid curdling. Keep the temperature steady and avoid boiling. Once thickened, remove the mixture from the heat and strain it through a fine sieve to remove any lumps.
Cool the custard quickly by placing the bowl in an ice bath. Cover the surface with plastic wrap to prevent a skin from forming. This step ensures a smooth texture and enhances the final product’s creaminess.
| Step | Key Tip |
|---|---|
| Tempering Eggs | Gradually add heated milk and cream to avoid curdling. |
| Heating | Stir constantly and avoid boiling to maintain smoothness. |
| Cooling | Use an ice bath and cover with plastic wrap for best results. |
Mastering these techniques ensures a velvety custard base every time. With practice, you’ll create a dessert that’s both indulgent and satisfying.
Creating Perfectly Toasted Buttered Pecans
The key to a truly decadent dessert lies in the details. Toasting pecans with butter and brown sugar transforms them into a crunchy, caramelized delight. This simple step adds depth and texture to your recipe, making it unforgettable.
Candied to Perfection
Start by melting butter in a heavy-bottom pan over medium heat. Add brown sugar and stir until it dissolves completely. This creates a rich, caramel-like base for the pecans.
Next, toss in raw, chopped pecans and stir to coat them evenly. Toast the mixture for about five minutes, stirring frequently. Watch for a golden-brown color and a nutty aroma, which indicate they’re perfectly candied.
Quick Toasting Tips
Using a heavy-bottom pan ensures even heat distribution, preventing burning. If the pecans start to darken too quickly, reduce the heat slightly. For best results, transfer the toasted pecans to a cup or plate to cool quickly.
Here are some troubleshooting tips:
- If the sugar clumps, add a splash of water and stir until smooth.
- For extra crunch, let the pecans cool completely before using.
- Store any leftovers in an airtight container for up to a week.
With these techniques, you’ll achieve perfectly toasted pecans every time. Their rich flavor and satisfying crunch will elevate your dessert to the next level.
Step-by-Step Recipe Instructions
Mastering the art of crafting a creamy dessert requires precision and patience. This recipe breaks down the process into simple, manageable steps. From mixing the base to churning, each stage is designed to ensure a smooth, indulgent result.
Mixing the Ice Cream Base
Start by combining eggs, sugar, and vanilla in a bowl. Whisk until the mixture is pale and thick. Gradually add heated milk and cream, stirring continuously to avoid curdling. This creates a smooth cream mixture that forms the foundation of your dessert.
Next, return the mixture to the stove and heat it gently. Stir constantly until it thickens enough to coat the back of a spoon. This step ensures a rich, velvety texture.
Churning Process and Timing
Once the base is ready, cool it quickly in an ice bath. Transfer the mixture to your ice cream maker and begin churning. This process typically takes about 20-25 minutes, depending on your machine.
As the mixture thickens, add the toasted pecans. This ensures they are evenly distributed throughout the dessert. Avoid over-processing, as this can affect the texture.
| Step | Key Tip |
|---|---|
| Mixing the Base | Whisk eggs and sugar until pale, then add heated milk gradually. |
| Heating | Stir constantly to prevent curdling and achieve a smooth texture. |
| Churning | Monitor the process closely to avoid over-processing. |
Following these instructions will help you create a dessert that’s both creamy and satisfying. With the right techniques, you’ll achieve a treat that’s worth every effort.
No-Churn Method: A Convenient Alternative
Making a creamy dessert doesn’t always require fancy equipment. The no-churn method is perfect for those without an ice cream maker. This approach uses simple techniques to achieve a smooth, indulgent treat. All you need is a little patience and a few basic tools.
Manual Mixing Guidelines
Start by pouring your prepared mixture into a freezer-safe container. Seal it tightly to prevent air from entering. Every 30-45 minutes, take it out and stir vigorously. This breaks up ice crystals, ensuring a creamy texture.
For best results, use a whisk or spatula to mix thoroughly. Repeat this process for about 4-6 hours, or until the dessert reaches the desired consistency. Adding toasted pecans or other mix-ins towards the end ensures even distribution.
Here’s a quick comparison of churned and no-churn methods:
| Aspect | Churned | No-Churn |
|---|---|---|
| Texture | Smooth and airy | Dense and creamy |
| Equipment | Requires an ice cream maker | Uses basic kitchen tools |
| Time | Faster (20-25 minutes) | Longer (4-6 hours) |
While the texture may differ slightly, the flavor remains just as delicious. Cover the surface with wrap to prevent freezer burn and store it in the freezer for up to two weeks. This method is a game-changer for anyone looking to enjoy a homemade treat without the hassle.
Storage and Serving Suggestions
Storing and serving your dessert correctly ensures every bite is as delightful as the first. Proper techniques not only maintain freshness but also enhance the texture and flavor. Here’s how to keep your treat at its best.
Proper Freezer Storage Techniques
To preserve the creamy texture, use an airtight container designed for the freezer. This prevents air from entering, which can cause ice crystals to form. Cover the surface with plastic wrap before sealing the lid for extra protection.
Store your dessert in the coldest part of the freezer, ideally at 0°F (-18°C). This ensures it stays firm without becoming overly hard. For optimal results, consume within three months for the best flavor and texture.
Best Serving Practices for Creamy Texture
Before serving, let your dessert sit at room temperature for about 10 minutes. This softens it slightly, making it easier to scoop. For an even creamier experience, serve it in a chilled bowl.
Here are some quick tips to ensure the best serving experience:
- Use a warm scoop to make serving effortless.
- Avoid refreezing melted portions to maintain texture.
- Pair with fresh toppings like fruit or chocolate for added flair.
By following these simple steps, you’ll enjoy a dessert that’s rich, creamy, and perfectly textured every time.
Variations and Flavor Enhancements
Customizing your dessert can turn a classic recipe into a unique masterpiece. By experimenting with mix-ins and flavor enhancers, you can create a treat that’s tailored to your taste. Here are some creative ideas to elevate your dessert game.
Adding Caramel Swirls and Extra Nuts
For a richer experience, drizzle in a tablespoon of caramel during the churning process. This adds a sweet, gooey layer that complements the creamy base. Toasted nuts, like almonds or walnuts, can also be mixed in for extra crunch.
A pinch of sea salt balances the sweetness, creating a harmonious flavor profile. If you’re feeling adventurous, try adding a splash of bourbon for a softer texture and a hint of sophistication.
Seasonal and Creative Mix-Ins
Incorporate seasonal fruits like peaches or berries for a fresh twist. Spices such as cinnamon or nutmeg can add warmth, making your dessert perfect for cooler months. A tablespoon of brown sugar enhances the richness, giving it a deeper, caramelized taste.
Here’s a quick tip: When adding mix-ins, fold them in gently to avoid over-processing. This ensures even distribution without compromising the texture.
Whether you stick to the classic or explore new combinations, the possibilities are endless. Each variation maintains the homemade charm while offering a personalized twist that’s sure to impress.
Essential Tools and Equipment for Ice Cream Making
Having the right tools can make all the difference in creating a smooth, creamy dessert. Whether you’re a beginner or a seasoned cook, the right equipment ensures your process is efficient and enjoyable. Let’s explore the essentials that will help you craft the perfect treat every time.
Choosing the Right Ice Cream Maker
An ice cream maker is the heart of any dessert-making setup. Modern freezer-bowl models, like those from Cuisinart, are popular for their ease of use and consistent results. These machines require no pre-freezing and are perfect for home use.
For those who prefer a more hands-on approach, manual churners are also available. While they take more effort, they offer a traditional experience. Whichever type you choose, ensure it’s easy to clean and has a reliable motor for smooth operation.
Must-Have Kitchen Accessories
Beyond the maker, several accessories can enhance your dessert-making process. A high-quality bowl is essential for mixing ingredients. Use a heavy-bottom pan for heating your cream mixture to avoid scorching.
Other essentials include:
- Plastic wrap to prevent freezer burn.
- An ideal scoop for serving.
- Measuring cups for precise ingredient ratios.
| Tool | Purpose |
|---|---|
| Ice Cream Maker | Churns the mixture for a smooth texture. |
| Heavy-Bottom Pan | Ensures even heating of the custard base. |
| Plastic Wrap | Prevents ice crystals from forming. |
| Measuring Cups | Provides accurate ingredient measurements. |
Printing your recipe instructions can save time and keep your workspace organized. Modern cream maker machines are designed for accessibility, making them ideal for cooks of all skill levels.
Proper cleaning and maintenance of your tools ensure they last for years. Rinse parts immediately after use and store them in a cool, dry place. With the right equipment, crafting a delicious dessert becomes a stress-free and rewarding experience.
Conclusion
Creating a rich, creamy dessert from scratch is easier than you think. This recipe walks you through every step, from preparing the smooth custard base to toasting the nuts for that perfect crunch. With clear instructions, you’ll achieve a treat that’s both indulgent and rewarding.
Feel free to print the recipe and keep it handy for your next kitchen adventure. Whether you’re using an maker or trying the no-churn method, the results are sure to impress. Don’t forget to wrap and store your dessert properly to maintain its creamy texture.
Thank you for exploring this recipe! We hope it inspires you to experiment with flavors and share the joy of dessert-making with loved ones. Now, it’s your turn to try it out and enjoy every delicious bite.
FAQ
What makes this recipe better than store-bought options?
This recipe uses fresh, high-quality ingredients like brown sugar, heavy cream, and toasted pecans, giving it a richer, more authentic flavor compared to mass-produced versions.
Can I use a different type of nut instead of pecans?
Absolutely! Walnuts or almonds can be great substitutes, though they’ll give the dessert a slightly different taste and texture.
Do I need an ice cream maker for this recipe?
While an ice cream maker ensures a smoother texture, you can use the no-churn method by manually mixing the base and freezing it in a container.
How long does it take to make the custard base?
The custard base typically takes about 20-30 minutes to prepare, including heating, tempering egg yolks, and cooling the mixture.
Can I add caramel swirls to this recipe?
Yes! Adding caramel swirls is a delicious way to enhance the flavor. Simply drizzle caramel sauce into the mixture before freezing.
How should I store the finished dessert?
Store it in an airtight container in the freezer. For the best texture, let it sit at room temperature for 5-10 minutes before serving.
What’s the best way to toast pecans for this recipe?
Toast pecans in a pan over medium heat with a bit of butter and brown sugar until they’re golden and fragrant, about 5-7 minutes.
Can I use low-fat milk instead of whole milk?
Whole milk is recommended for a creamier texture, but low-fat milk can be used if you prefer a lighter version.
How long does it take to churn the mixture in an ice cream maker?
Churning usually takes about 20-30 minutes, depending on your machine. The mixture should thicken to a soft-serve consistency.
Can I make this recipe ahead of time?
Yes! Prepare the base and toast the pecans a day in advance. Assemble and churn the mixture when you’re ready to serve.
