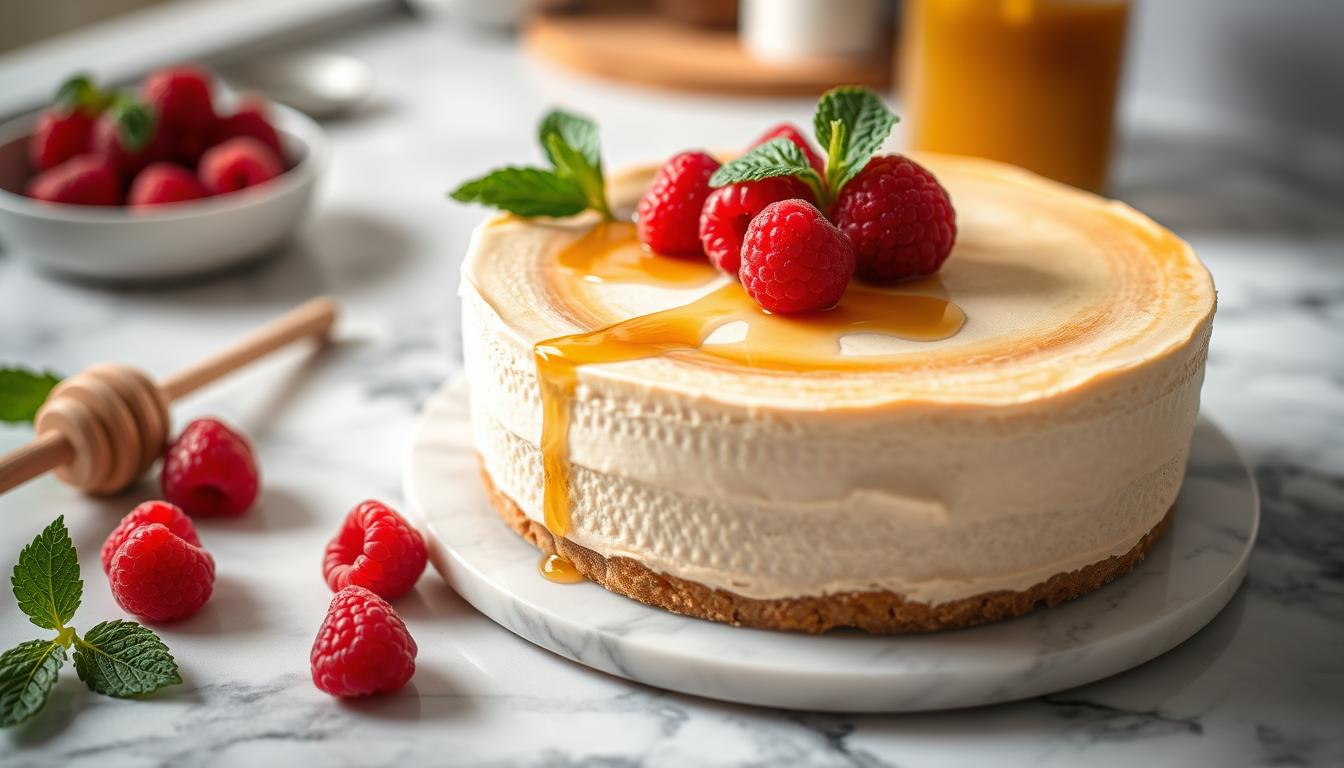
Looking for a dessert that’s both indulgent and nutritious? This high-protein treat combines the classic richness of cheesecake with a healthy twist. Made with cream cheese and Greek yogurt, it’s creamy, smooth, and packed with over 30 grams of protein per serving.
What makes this dessert stand out is its simplicity. No water baths or complicated steps are needed. Just mix, bake, and enjoy. The result is a rich and decadent treat that satisfies your sweet tooth without compromising your health goals.
Whether you’re following a high-protein lifestyle or just want a guilt-free dessert, this recipe is a game-changer. It’s perfect for any occasion and can be customized to suit your taste. Give it a try and discover how delicious healthy eating can be!
Key Takeaways
- Combines classic cheesecake richness with a healthy, high-protein twist.
- Made with cream cheese and Greek yogurt for a creamy texture.
- Easy to prepare with no complicated steps or water baths.
- Packed with over 30 grams of protein per serving.
- Perfect for satisfying dessert cravings without guilt.
Understanding This Protein Cheesecake Recipe
Craving a dessert that’s both satisfying and good for you? This protein-packed treat is the perfect blend of indulgence and nutrition. By using wholesome ingredients like Greek yogurt and cream cheese, it delivers a creamy texture while keeping calories in check.
What Makes It Healthy and Delicious
This dessert stands out because it’s designed to be both tasty and nutritious. Unlike traditional versions, it uses sugar substitutes and natural extracts to enhance flavor without adding extra calories. The result is a treat that’s rich, creamy, and guilt-free.
Key ingredients like Greek yogurt and protein powder boost the protein content, making it a great option for those following a high-protein lifestyle. Plus, the recipe is simple, requiring no water baths or complicated steps.
Key Ingredients Overview
Each ingredient plays a vital role in creating the perfect balance of flavor and nutrition. Here’s a breakdown of what makes this dessert special:
- Greek Yogurt: Adds creaminess and a protein boost.
- Protein Powder: Enhances the protein content without altering the texture.
- Sweetener: Keeps the dessert sweet without added sugar.
- Vanilla Extract: Provides a natural, rich flavor.
For those who want to tweak the recipe, adjusting the amount of protein powder can further customize the protein content. This flexibility makes it easy to tailor the dessert to your preferences.
| Ingredient | Role | Benefit |
|---|---|---|
| Greek Yogurt | Base for creaminess | High in protein, low in fat |
| Protein Powder | Protein boost | Enhances nutritional value |
| Sweetener | Flavor enhancement | Reduces calorie count |
| Vanilla Extract | Flavoring | Adds natural richness |
Choosing the Best Ingredients for Your Cheesecake
Want a dessert that’s both creamy and healthy? The secret lies in selecting the right ingredients. From dairy options to protein boosters, every choice impacts the final texture and flavor. Let’s break down what you need to know.
Dairy Options: Cream Cheese, Greek Yogurt, Cottage Cheese
When it comes to dairy, cream cheese is a classic choice. It’s rich and smooth, but make sure it’s at room temperature for easy blending. For a lighter option, Greek yogurt adds creaminess and a protein boost. If you’re looking for extra texture, cottage cheese is a great alternative. It’s packed with protein and blends well for a velvety finish.
- Cream Cheese: Rich and smooth, perfect for a classic texture.
- Greek Yogurt: Creamy and high in protein, ideal for a lighter option.
- Cottage Cheese: Adds a unique texture and extra protein.
Selecting the Right Protein Powder
Protein powder is key to boosting the nutritional value of your dessert. Whey protein is a popular choice for its smooth texture and high protein content. Casein works well for a thicker consistency, while plant-based options like pea or rice protein are great for dietary restrictions. Always choose a powder that complements the flavor of your dessert.
Here are some tips for using protein powder:
- Measure carefully—typically 1 scoop or ¼ cup per serving.
- Blend thoroughly to avoid clumps.
- Opt for unflavored or vanilla powder for versatility.
Balancing your ingredients is crucial. Use 1 cup of dairy, 1 egg, and ¼ cup of butter for the perfect consistency. With these tips, you’ll create a dessert that’s both delicious and nutritious.
Step-by-Step Preparation and Baking Tips
Ready to bake a dessert that’s both creamy and healthy? Follow these simple steps to achieve a smooth, crack-free result. With the right techniques, you’ll create a treat that’s as beautiful as it is delicious.
Mixing Techniques for a Creamy Texture
Start by combining your ingredients in a large bowl. Use a hand mixer or stand mixer to blend the cream cheese and Greek yogurt until smooth. Add the sugar substitute and vanilla extract, mixing gently to avoid incorporating too much air.
Next, incorporate the eggs one at a time. Overmixing can lead to air bubbles, so blend just until the mixture is uniform. This step ensures a velvety texture without compromising the structure.
Baking Time, Temperature, and Monitoring
Preheat your oven to 300°F (150°C). Pour the mixture into your prepared pan and place it in the center of the oven. Bake for approximately 45 minutes, or until the edges are set but the center still has a slight jiggle.
After baking, turn off the oven and leave the door slightly open for 30 minutes. This slow cooling process prevents cracks and ensures a creamy center. Finally, refrigerate for at least 4 hours or overnight before serving.
By following these steps, you’ll create a dessert that’s perfectly smooth and irresistibly rich. Happy baking!
Optional Crust vs. Crustless Versions
Struggling to decide between a crust or crustless base for your dessert? The choice can significantly impact the texture, flavor, and overall experience. Whether you prefer a classic crunch or a smooth, simple finish, both options have their unique advantages.
Deciding on the Ideal Base for Your Dessert
A crust adds a delightful contrast to the creamy filling. It’s often made with crushed protein cookies or almond flour, mixed with melted butter for binding. This option intensifies flavor and provides a satisfying bite. On the other hand, a crustless version is quicker to prepare and lighter in texture, making it ideal for those who prefer simplicity.
- Texture: A crust offers a crunchy base, while crustless is smooth and velvety.
- Flavor: Crusts enhance the overall taste, especially when made with protein cookies or nuts.
- Preparation: Crustless saves time, as it skips the step of preparing and baking the base.
For those new to baking, a crustless option is beginner-friendly. However, if you’re up for a bit more effort, a crust can elevate your dessert to the next level. Here’s how to prepare a protein cookie crust:
- Crush protein cookies into fine crumbs.
- Mix with melted butter until evenly combined.
- Press the mixture firmly into the bottom of your pan.
- Bake for 10-12 minutes to set before adding the filling.
Regardless of your choice, ensure the mixture is evenly distributed in the pan for a consistent base. Both options are flexible and can be tailored to dietary preferences or available ingredients. Happy baking!
Enhancing Your Cheesecake with Toppings and Add-Ins
Ready to take your dessert to the next level? The right toppings and add-ins can transform a simple treat into a show-stopping masterpiece. Whether you prefer a drizzle of chocolate or a sprinkle of fresh fruit, these ideas will inspire you to get creative.
Creative Flavor Twists and Sweeteners
Adding a unique twist to your dessert is easier than you think. For a rich, nutty flavor, try drizzling peanut or almond butter on top. If you’re a fan of classic flavors, a splash of vanilla extract or a dusting of cocoa powder can work wonders.
Sweeteners like stevia or monk fruit are great for keeping the calorie count low while enhancing taste. For a chocolate lover’s dream, melt dark chocolate and drizzle it over the top. You can even mix in a scoop of protein powder for an extra boost.
Serving Ideas and Presentation Tips
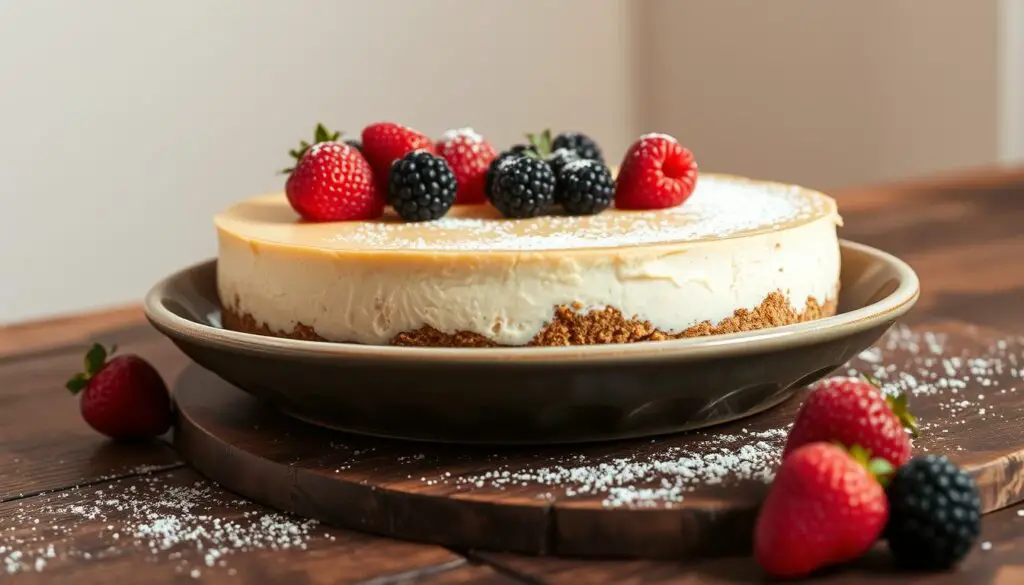
Presentation is key to making your dessert look as good as it tastes. Start by slicing it into even portions and arranging them on a platter. Add a dollop of whipped cream or a handful of fresh berries for a pop of color.
For a more elegant touch, use a piping bag to create swirls of whipped cream or yogurt. A sprinkle of crushed nuts or a drizzle of chocolate sauce can add texture and flavor. Don’t forget to experiment with different combinations to find your favorite.
| Topping | Flavor Profile | Best Pairings |
|---|---|---|
| Peanut Butter | Nutty, Rich | Chocolate, Banana |
| Fresh Berries | Sweet, Tart | Vanilla, Whipped Cream |
| Chocolate Drizzle | Decadent, Smooth | Nuts, Caramel |
| Protein Powder | Neutral, Boosted | Any Flavor |
Encourage your creativity by trying new combinations. Whether it’s a turtle-inspired version with caramel and pecans or a white chocolate twist, the possibilities are endless. Remember, the best desserts are the ones that reflect your personal taste.
Storage, Freezing, and Reheating Instructions
Need tips to keep your dessert fresh and delicious? Proper storage and reheating methods ensure your treat stays creamy and flavorful. Here’s how to preserve its quality for days or even months.
To store your dessert, place it in an airtight container. Keep it in the fridge for up to one week. For longer storage, freezing is a great option. Wrap individual slices in plastic wrap and place them in a freezer-safe container. They’ll stay fresh for up to three months.
When ready to enjoy, thaw frozen slices in the fridge for 30 minutes. For a warm treat, reheat in the oven at 300°F for 5-10 minutes. Avoid microwaving, as it can alter the texture.
Here are some additional tips to maintain quality:
- Use a glass or ceramic pan for even cooling and reheating.
- Cut into individual serving sizes before freezing for convenience.
- Double-wrap slices to prevent freezer burn.
By following these simple instructions, you can enjoy your dessert anytime without compromising its rich, creamy texture. Happy indulging!
Nutritional Insights and Health Benefits
Curious about the nutritional value of your favorite dessert? This treat isn’t just delicious—it’s packed with health benefits that make it a guilt-free indulgence. With quality ingredients like Greek yogurt and protein powder, it’s designed to support your wellness goals while satisfying your sweet tooth.
Calorie Count and Macronutrient Breakdown
Each serving contains just 210 calories, making it a lighter option compared to traditional desserts. Here’s a quick breakdown of what you’re getting:
- Protein: 12 grams (24% of daily value)
- Fat: 11 grams (17% of daily value)
- Carbohydrates: 17 grams (6% of daily value)
- Sugar: 5 grams (6% of daily value)
Compared to a slice of traditional cheesecake, which can have up to 480 calories, this version is a smarter choice for health-conscious individuals. The use of Greek yogurt and protein powder not only boosts the protein content but also keeps the sugar levels in check.
Preparing this dessert takes just 30 minutes of active time, with a total baking time of 1 hour and 20 minutes. The result is a treat that’s both nutritious and easy to make, perfect for any occasion.
By choosing quality ingredients, you’re not just enjoying a delicious dessert—you’re also fueling your body with essential nutrients. Whether you’re counting calories or focusing on protein intake, this dessert is a win-win for your taste buds and your health.
Conclusion
Discover how easy it is to create a dessert that’s both healthy and indulgent. This treat combines Greek yogurt and a touch of vanilla extract for a creamy, flavorful experience. With simple steps and customizable options, it’s perfect for any occasion.
Whether you prefer a crust or a crustless version, this dessert adapts to your taste. Experiment with toppings like fresh fruit or a drizzle of chocolate for added flair. The use of a natural sweetener keeps it guilt-free without sacrificing flavor.
Bake at 350°F for 20 minutes, and enjoy a dessert that’s as nutritious as it is delicious. Store leftovers in the fridge or freezer for a quick treat anytime. Share your creations online and inspire others to try this delightful recipe.
Ready to enjoy a dessert that’s both satisfying and good for you? Give it a try today and savor every bite!
FAQ
What makes this dessert a healthier option?
It uses ingredients like cottage cheese, Greek yogurt, and a high-quality protein powder to boost nutrition while keeping calories in check. Sweeteners like stevia or monk fruit add flavor without extra sugar.
Can I use any type of protein powder?
Yes, but whey or casein powders work best for a smooth texture. Avoid plant-based options with strong flavors unless they complement the dessert.
How do I achieve a creamy texture?
Blend the cream cheese, yogurt, and cottage cheese thoroughly before adding the protein powder. This ensures a silky, lump-free mixture.
What’s the ideal baking temperature and time?
Bake at 325°F for about 40-45 minutes. The center should be slightly jiggly but set. Overbaking can lead to cracks.
Can I make this without a crust?
Absolutely! A crustless version is quicker and lower in calories. Just grease your pan well to prevent sticking.
What are some creative topping ideas?
Fresh berries, sugar-free chocolate drizzle, or crushed nuts add flavor and texture. Peanut butter or a dollop of Greek yogurt also works well.
How should I store leftovers?
Keep it in an airtight container in the fridge for up to 5 days. For longer storage, freeze slices wrapped in plastic wrap for up to 3 months.
What’s the calorie count per serving?
Depending on the ingredients, each slice typically ranges from 150-250 calories, making it a guilt-free treat.
Can I use Greek yogurt instead of cottage cheese?
Yes, Greek yogurt is a great substitute. It adds a tangy flavor and maintains the creamy consistency.
Is this dessert suitable for meal prep?
Absolutely! It’s perfect for prepping ahead. Just slice and store for easy, portioned snacks or desserts throughout the week.
